TL;DR
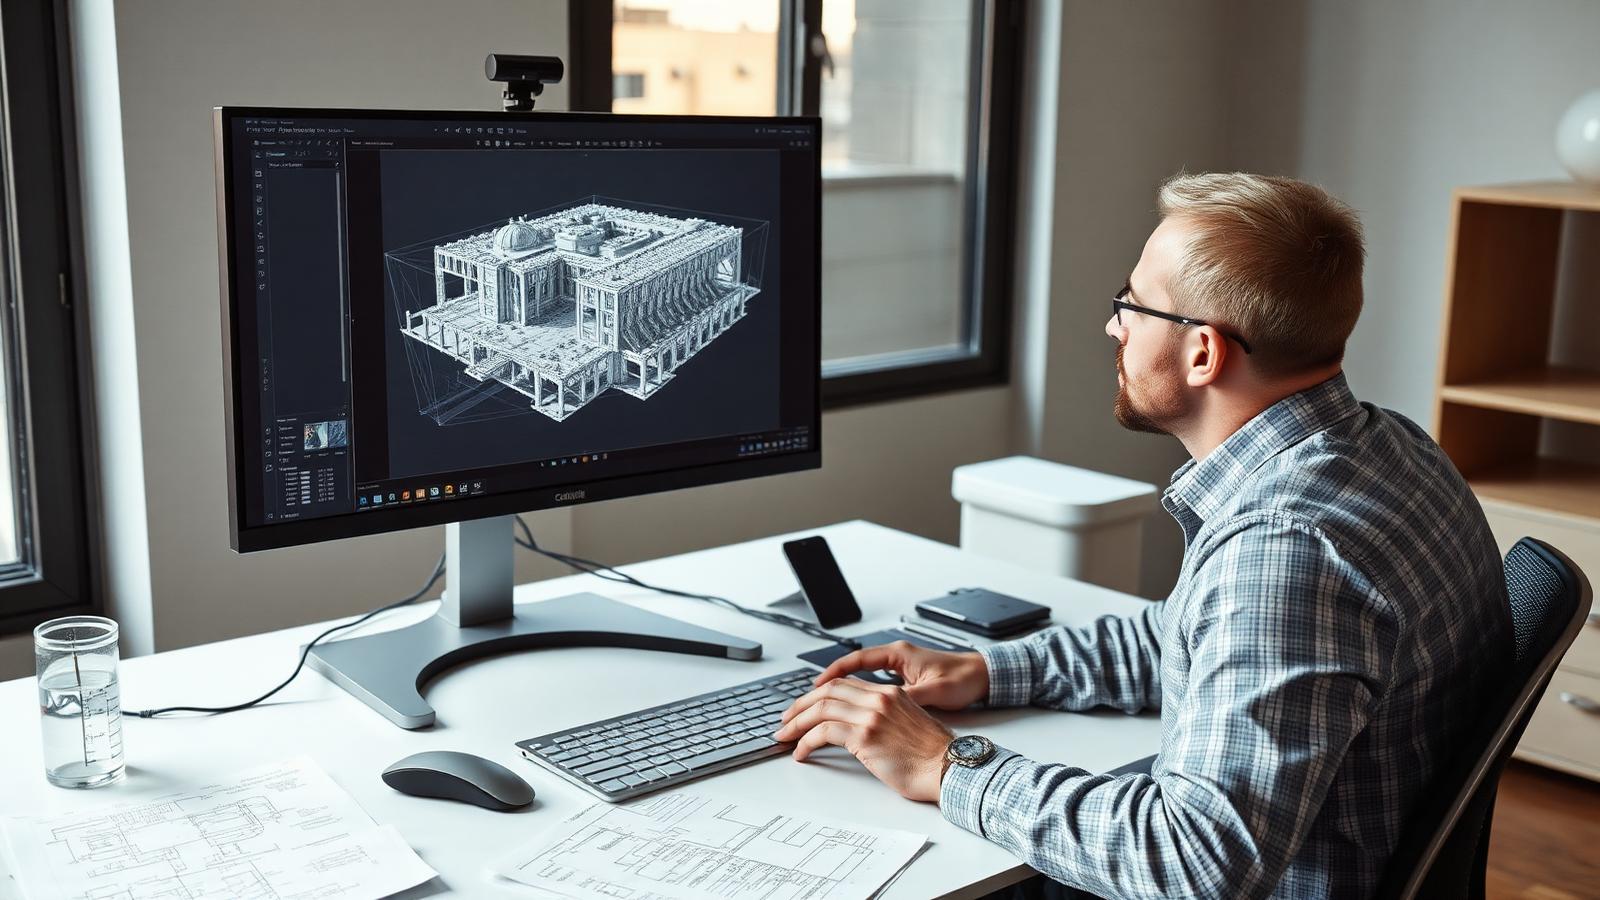
Panoramic walkthroughs anchored to a ±6 mm point cloud let architects verify existing conditions from a browser: a corridor check that took two people half a day takes 5 minutes in the viewer, and RFI counts drop 30–50% when design starts from verified conditions. Viewer access arrives 1–3 days after capture.
January on I‑71 isn’t forgiving. Last winter, a Columbus firm called us from a job trailer in Mansfield. They needed to verify soffit clearances above a stairwell, confirm a sloped slab at the ground floor, and check if a roof drain stack jogged at level 3. They were about to send two staff up the highway again. Instead, we opened the panoramic walkthrough from our NavVis VLX3 scan, took three measurements against the registered point cloud, and had answers in under 15 minutes. No warm trucks. No hotel receipts. No “we’ll get back to you Monday.”
What does “one quick site check” really cost?
Those “we’ll be in and out” visits pile up:
- Two people out half a day = 8 labor hours
- 130–220 miles roundtrip from central Ohio sites = mileage and lost time
- Interruptions to design work and coordination calls that slip a day
On a 60,000 sq ft renovation, we commonly see 10–20 trips across programming, SD, DD, and CA. That’s 80–160 staff hours and $2,500–$6,000 in soft costs before you put a line on the as-builts.
Capturing the building once—properly—shifts the entire workflow. With mobile LiDAR plus targeted terrestrial control, you can answer “what’s there?” from your desk and move on.
Walkthroughs and measurements on demand
Panoramic walkthroughs are more than pretty pictures. With the VLX3, each 360 is anchored to the registered point cloud. That means:
- Measure corridor widths, head heights, or rough openings directly in the viewer
- Swap between imagery and point cloud slices for tricky geometry
- Share a simple link with your team and consultants
We typically publish a hosted walkthrough within 24–48 hours of capture. For active design phases, that speed matters. If you’re curious how these captures happen at walking pace, see Inside the NavVis VLX3.
What we deliver, and when
- Day 0–2: Field capture (VLX3 mobile LiDAR) with loop closures; Leica RTC360 or Faro Focus scans on key tie-ins and MEP-intensive rooms
- Day 1–3: Web walkthrough link issued for immediate visual verification
- Day 3–7: Registered point cloud (E57, RCP) with section templates; ±6 mm overall registration accuracy, 5–10 mm point spacing at 10 m
- Day 7–21: Optional Scan to BIM Revit model (LOD 200–300) or Scan to CAD 2D drawings
Typical data sizes:
- Panoramas/structured viewer: 6–12 GB for 80–120k sq ft
- Point cloud: 60–150 GB E57; 25–70 GB RCP export, depending on decimation and clipping boxes
Design over what’s actually there
Pull the RCP into Revit and you stop guessing. Proposed partitions snap to real walls, not idealized rectangles. Duct routing aligns with staggered beams, not “typical” framing notes. Irregular masonry and settled floors stop being surprises in CA.
- Reduce RFIs: We routinely see RFI counts drop 30–50% on renovation projects when design is based on verified conditions. Read more in Preconstruction Estimating with Point Cloud Data.
- Accelerate SD: Start blocking out spaces within days of capture instead of waiting weeks for piecemeal measurements.
- Coordinate early: Share the same cloud with MEP and structural teams. One reality, many disciplines.
For teams needing formal deliverables, our As‑Built Documentation and 2D/3D Floor Plans packages ensure the base layer is clean, organized, and ready for production.
Accuracy that hand measurements can’t touch
Hand tapes and spot lasers miss things—especially in old Ohio buildings that aren’t square, flat, or plumb. We register SLAM walks to survey control, add terrestrial tie-ins where clutter or drift risk is high, and verify with targeted check shots.
- Capture rate: 500–700k sq ft/week with NavVis VLX3 on multi-story interiors (clear paths, continuous loops)
- Registration: Cloud‑to‑cloud with loop closure; black/white targets and spheres for tie‑ins; surveyed control when required
- Result: ±6 mm overall registration accuracy, with local point precision suitable for LOD 200–300 models and fabrication-driven LOD 350–400 in designated zones
“If it’s in the scan, we trust it. Our team stopped driving back for ceiling pops and wall kinks, and our CA meetings are finally about solutions—not what’s actually there.”
Accuracy still lives in context. For preservation or forensic work, scanning supports field notes, probes, and historic research—it doesn’t replace them. See how we position reality capture alongside traditional methods in How 3D Scanning Supports Historic Preservation Documentation and our Preservation industry page.
What do architects actually do with scans?
Here’s how our partners in Columbus, Cleveland, and Cincinnati fold scans into their day-to-day work.
- SD: Fit test schemes around existing shear walls and shafts; confirm egress widths from corridor slices; validate headroom for interconnecting stairs
- DD: Layout MEP corridors using structure‑first coordination; locate demo limits from accurate slab edges; tag existing levels and slopes from point cloud analysis
- CA: Verify unforeseen conflicts from the cloud before issuing RFIs; respond to submittals with actual beam depths and hanger conflicts visible in the model
A Mansfield anecdote
On a 95,000 sq ft former school in Mansfield, we scanned interiors and roof in 2 days: VLX3 for the interior; RTC360 for roof parapets and tie‑ins at the penthouse. We delivered:
- Panoramic walkthrough in 36 hours
- E57 and RCP within 6 days (96 GB E57, 41 GB RCP)
- LOD 300 Revit shell/core in 14 days; targeted LOD 350 for mechanical rooms
The architect canceled eight planned site trips. Their RFI log for existing-condition clarifications dropped from 22 to 7. Estimated travel savings topped $3,800, but the real win was two extra weeks back in design.
When does scanning save the most?
- Renovations and adaptive reuse where existing drawings are unreliable or missing
- Complex MEP spaces, congested ceilings, and plant rooms
- Remote or multi-building campuses—see our 12‑building campus in 9 days
- Historic structures that require strict dimensional fidelity (paired with traditional documentation)
- Phased projects with repeated need to verify conditions months apart
- Large footprints where mobile LiDAR’s walking‑pace capture outperforms total station traverses—details in Why Mobile LiDAR Beats Traditional Surveying for Large Buildings
Hand measuring vs. scan-based design
| Task | Traditional field visit | With mobile LiDAR + panoramas |
|---|---|---|
| Verify corridor width on level 2 | 2 people, 3–4 hours door‑to‑door | 5 minutes in viewer |
| Confirm ceiling plenum depth | Lift rental + return trip | One section cut; ±6 mm confidence |
| Locate beam pocket offsets | Laser, chalk, photos, notes | Slice the point cloud in Revit; tag directly |
| Check MEP clearances above a new stair | Weekend site access, overnight work | Nightly captures; next‑day review |
| Produce base floor plans for DD | 2–3 weeks of piecemeal as‑builts | 5–7 days from scan to CAD/Revit |
How do you eliminate most field visits?
- Specify the deliverable. Use a clear scope and accuracy target. If you don’t have one, grab our Scope of Work Template for Scan to BIM Projects and the primer on Point Cloud File Formats.
- Ask for early access. Insist on a hosted walkthrough within 48 hours and a rough‑cut RCP for SD. Don’t wait for a polished model to start sketching.
- Define model LOD by zone. Public corridors at LOD 200, mechanical rooms at 300–350. More detail where coordination risk is highest. If you’re not sure which LOD you need, see LOD 200 vs LOD 300 vs LOD 400.
- Use control targets where it matters. Tie critical elements (elevator cores, stair stacks) to survey control so your additions land where they should.
- Maintain a living base. Keep the RCP clipped by level and trade. Refresh targeted areas mid‑project instead of sending people to “just check.”
Tools we bring to the site
- NavVis VLX3 for SLAM capture at walking pace
- Leica RTC360 or Faro Focus for static control in congested zones and exteriors
- Registration via cloud‑to‑cloud, targets, and surveyed control when required
- Deliverables: E57, RCP/RCS, LAS; Revit models (LOD 200/300/400), 2D AutoCAD from our Scan to CAD pipeline
If you want a deeper dive into deliverable language that protects your schedules, bookmark How to Write a 3D Scan Deliverable Spec That Protects Your Project. And for broader context on when scanning fits your practice, our Architecture and Construction pages outline typical workflows and timelines.
Bottom line
Scanning doesn’t replace the architect. It replaces repeat drives, hand-transcribed notes, and the guesswork that creates RFIs. A single, measurable record—imagery plus point cloud—keeps your team designing while the site sits a click away.
Ready to stop burning days on site checks? See our approach in the Mansfield case study: How Architects Use 3D Scanning to Eliminate Field Visits, browse the portfolio, or just call us. We work Ohio and nationwide with crews who’ve lived the winter drives and prefer not to repeat them.